System configuration
Hardware configuration
- two virtual machines (VMWARE)
- 1 vCPU
- 4 GB RAM
- 40 GB local Disk
- Storage exported via ISCSI
- 4 LUNs with 10 GB each
- 2 LUNs with 30 GB each
Operating system configuration
- Oracle Enterprise Linux 5.3 x86_64 (Kernel 2.6.18-128.el5)
- Installed packages: default system + development packages
Cluster configuration
- Cluster Name: „RAC“
- Grid Binary installation on local disk
- OCR, Voting and datafiles stored in ASM
- Oracle HOME stored on ACFS file system (this menas we will have a SHARED home directory among all nodes!)
- Oracle HOME will be installed unser user „ora11p“
Installation – Requirements and Preparations
Installation Steps outlined
- Installation of Oracle 11g Release 2 Grid Infrastructure → done here
- Installation of Oracle 11g Release 2 Database (rac installation)
- Review system requirements
- Install database software (aka „binaries“)
- Create database
general Requirements
All requirments from grid infrastructure installation apply here as well, for instance:
- Kernel parameter
- Limits (esp. configure limits for new user „ora11p“ which will hold the binary database installation)
- Synchronous time
- dns-resolvable SCAN name
- working public and private interconnect
- shared and accessible storage
- at least ONE better two more disk groups created:
- one for database files and binary installation
- one for flashback recovery area
- Note: SSH equivalence will be set up by installer
Preparations
Create ACFS file system for storing oracle binary installation
- Create further ACFS mount directory
mkdir -p /u01/app/oracle/product/11.2.0/ora11p
- Create ADVM volume
- Create ACFS file system
- DO NOT register ACFS file system mountpoint for the oracle home directory! We will do this later (when creating the database) as clusterware resource
- Mount ACFS file system on both nodes ( “mount /dev/asm/ora11p_home-132 /u01/app/oracle/product/11.2.0/ora11p”)
Create User on both nodes:
useradd -u 501 -g dba -d /u01/app/oracle/product/11.2.0/ora11p ora11p
passwd ora11p
chown -R root:dba /u01/app/oracle/product
chmod -R 775 /u01/app/oracle/product
chown -R ora11p:dba /u01/app/oracle/product/11.2.0/ora11p
Create .bash_profile for user ora11p (note: changes on node A will be visible on node B cause were using ACFS; so changing profile file is needed only once)
export ORACLE_BASE=/u01/app/oracle
export ORACLE_HOME=$ORACLE_BASE/product/11.2.0/ora11p
export ORACLE_SID=ORA11P
if [ -t 0 ]; then
stty intr ^C
fi
One word on Cluster Verification utility (cluvfy)
- should be used prior installation
- At this point the user „ora11p“ does not have SSH equivalence configured
- So there are two options:
- start cluvfy after installer set up ssh equivanlence
- set up SSH equivalence manually
- I personally prefer to run cluvfy after installer set up ssh equivalence
However the database installer seems to run a more or less complete check automatically
If you want to start cluvfy here is the syntax:
cluvfy stage -pre dbinst -fixup -n nodeA,nodeB -r <release> -osdba <name of sysdba group on unix> -verbose
<release> is: 10gR1, 10gR2, 11gR1, 11gR2
Installation
Start installer als user „ora11p“ on any node
For testing purposes i deselected update notifications… in productive environments this is highly recommended
we will install database software only and create database later
both nodes were discovered correctly….
Because were installing as user „ora11p“ which is different from the user holding our infrastructure installation we need to create passwordless ssh connectitivty
!! you also need to select „user home is shared“ cause were using ACFS !!
SSH connectivity successfully established…
Select language support
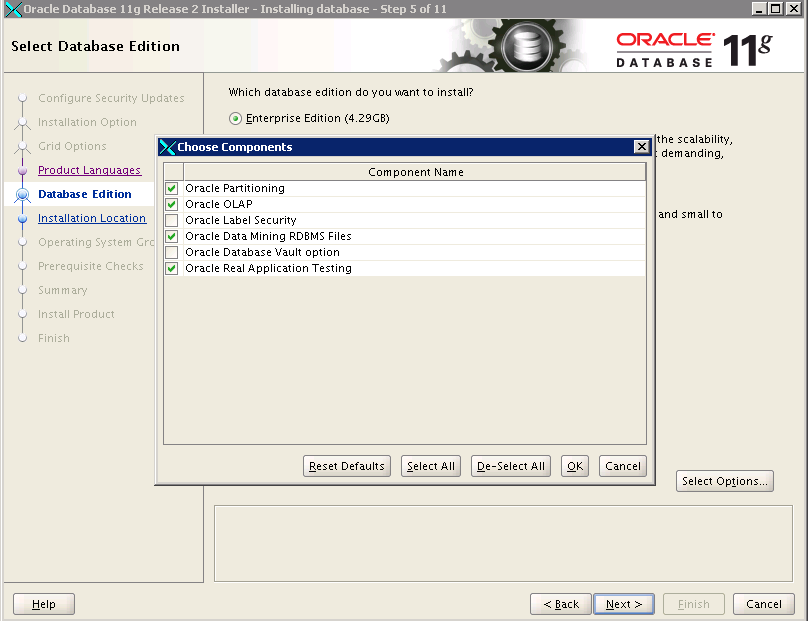
Select Edition
Select Options
Select ORACLE_BASE and ORACLE_HOME; we set it in profile file so it is entered by the installer automatically
Installation Summary
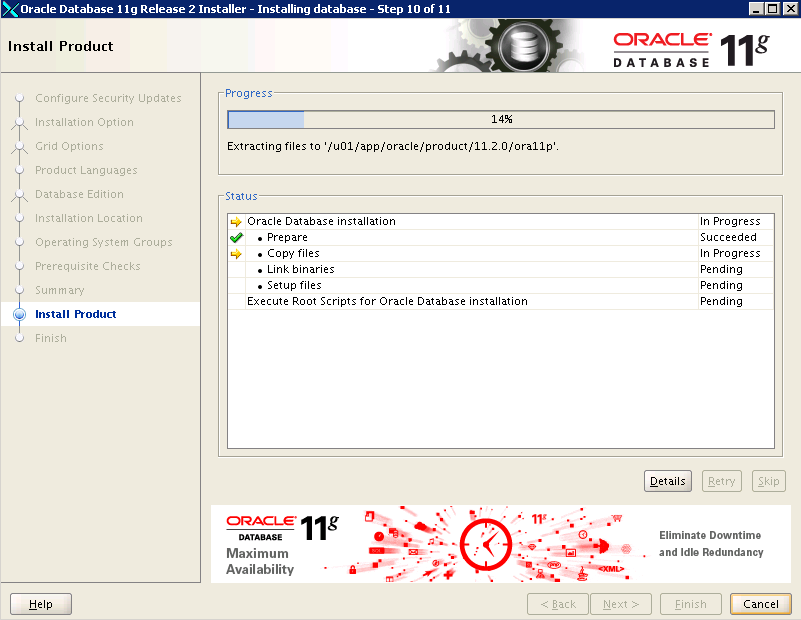
Install process
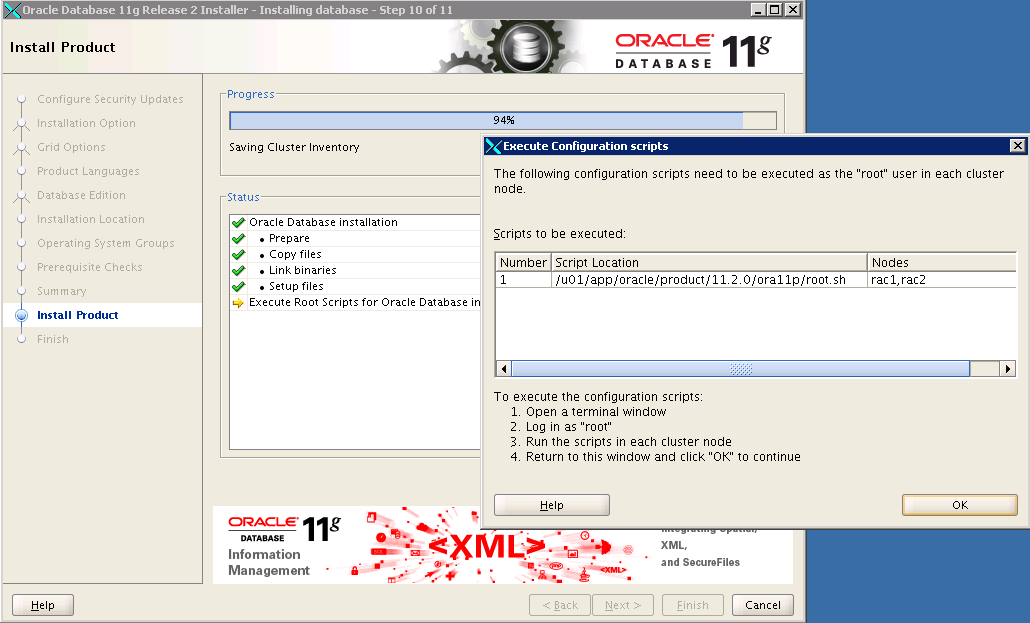
Installation nearly finished.. just start „root.sh“ as root on all nodes
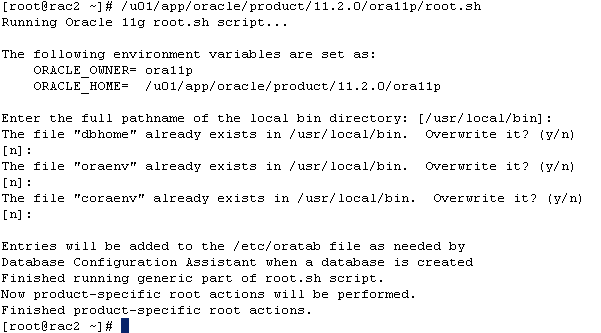
root.sh sample output
Finished
Where to go now?
- We just installed all neccessary components for creating our first RAC database → this will be the next post
- backup current configuration


Dear Friend its a very nice guide!
I have two questions :
i) How was your hosts looking like before grid installation
ii) I want to install rac in two vm’s as a test environment.
There is no dns available. Any Idea what do do with the scan name
if there is no dns available ?
Thanks
PS
Article very interesting, I will necessarily add it in the selected works and I will visit this site
Thx. Hope to see some more information in future. Auther is the best
Сайт очень интересный. Люди действительно подобрались порядочные. Обязательно посещю его снова
Site very interesting. People have really stolen up the decent. I will necessarily come here again
Simply super… I will look for more advance stuff for reference.