This is the final part of the Oracle 11g Release 2 installation guide. At this point you should have:
- Oracle database and grid infrastructure binaries installed
- at least ONE or better two disk groups configured for:
- database and binary files
- flash recovery area
Our database name will be “ORA11P”.
Preparations
- create directory for cfgtools
create /u01/app/oracle/cfgtoollogs
mkdir -p /u01/app/oracle/cfgtoollogs
chown root:dba /u01/app/oracle/cfgtoollogs
chmod 775 /u01/app/oracle/cfgtoollogs
- Check SSH equivalence once again:
execute as user „ora11p“ (this is the user holding the oracle database binary installation):
/usr/bin/ssh -o FallBackToRsh=no  -o PasswordAuthentication=no
  -o StrictHostKeyChecking=yes  -o NumberOfPasswordPrompts=0 rac2 /bin/date
/usr/bin/ssh -o FallBackToRsh=no  -o PasswordAuthentication=no
  -o StrictHostKeyChecking=yes  -o NumberOfPasswordPrompts=0 rac1 /bin/date
Both commands should return the current date. If there are errors like „connection refused“, check:
- network connectivity between both nodes
- does a „normal“ SSH connection works?:
- ssh root@rac1-priv
- ssh root@rac1
- ssh root@rac2-priv
- ssh root@rac2
both commands should prompt for a password.
If SSH was working before and seems “gone” you might face a problem documented here.
- add ACFS oracle home to cluster registry
$GRID_HOME/bin/srvctl add filesystem -d /dev/asm/ora11p_home-132
  -v ora11p_home -g DATA2 -m /u01/app/oracle/product/11.2.0/ora11p -u ora11p
Arguments:
-d: path of advm volume
-v: name of volume
-m: mount point path
„-u ora11p“ ist important and must match the owner of the database binary installation; else dbca will raise error compaining about missing permissions
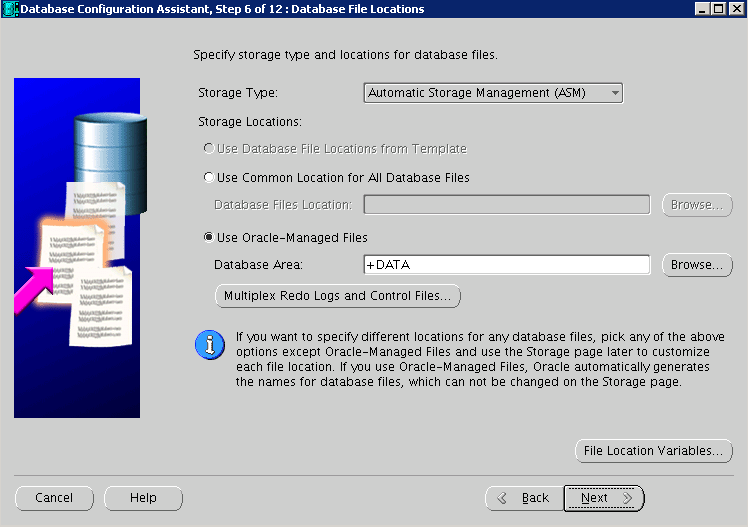
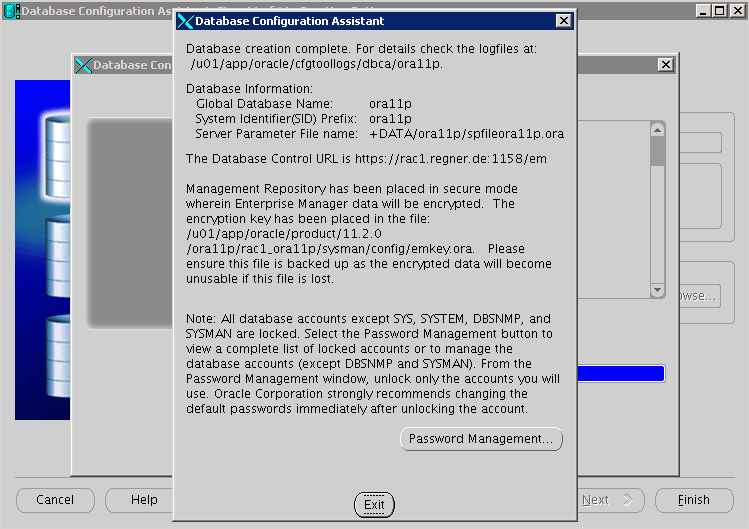
Create the database with dbca
Start dbca
Where to go now?
- Tune Instance, for instance:
- memory_target
- db_writer_processes
- sessions parameter
- …
- Configure, perform and test your backup


[root@rac-2 ~]# /usr/bin/ssh -o FallBackToRsh=no -o PasswordAuthentication=no -o StrictHostKeyChecking=yes -o NumberOfPasswordPrompts=0 rac-1.sayantan-chakraborty.de. /bin/date
ssh: rac-1.sayantan-chakraborty.de.: Name or service not known
[root@rac-2 ~]#
and my dig result is:
[root@rac-2 ~]# dig @192.168.1.2 rac-1.sayantan-chakraborty.de.
; <> DiG 9.3.4-P1 <> @192.168.1.2 rac-1.sayantan-chakraborty.de.
; (1 server found)
;; global options: printcmd
;; Got answer:
;; ->>HEADER<<- opcode: QUERY, status: NOERROR, id: 24093
;; flags: qr aa rd ra; QUERY: 1, ANSWER: 1, AUTHORITY: 2, ADDITIONAL: 1
;; QUESTION SECTION:
;rac-1.sayantan-chakraborty.de. IN A
;; ANSWER SECTION:
rac-1.sayantan-chakraborty.de. 3600 IN A 192.168.1.2
;; AUTHORITY SECTION:
sayantan-chakraborty.de. 3600 IN NS rac-2.sayantan-chakraborty.de.
sayantan-chakraborty.de. 3600 IN NS rac-1.sayantan-chakraborty.de.
;; ADDITIONAL SECTION:
rac-2.sayantan-chakraborty.de. 3600 IN A 192.168.1.3
;; Query time: 1 msec
;; SERVER: 192.168.1.2#53(192.168.1.2)
;; WHEN: Tue Feb 2 13:04:56 2010
;; MSG SIZE rcvd: 113
[root@rac-2 ~]#
what to do?
Hi,
whats the result of:
ping rac-1.sayantan-chakraborty.de
And your /etc/resolv.conf content?
@Ronny Egner
its now fine now ………